One of the most common issues that car owners face is swirl marks. These unsightly blemishes can affect the paintwork and make your car look dull. However, with the right techniques and a little bit of effort, you can easily remove swirl marks and restore your car's showroom shine.
In this blog post, we will uncover some effective Professional car detailing Christchurch tips and tricks to help you make your vehicle look its best.
So, let's dive in and unveil the secrets to a swirl-mark-free car!
Understanding Swirl Marks: The Culprits Behind the Imperfections
Before we delve into the solutions, it's important to know what causes swirl marks. Swirl marks are tiny, circular scratches on the surface of the car's paint. They are typically caused by improper washing techniques, using dirty or abrasive materials, or even harsh weather conditions. Over time, these scratches accumulate, giving your car an unsightly appearance. The good news is that you can easily remove them by following these simple car detailing Christchurch steps.
Step 1: Gather the Right Tools and Supplies
To effectively remove swirl marks, you'll need some essential tools and supplies. Start by gathering a microfiber cloth, a clay bar kit, a dual-action polisher, a polishing compound, and car wax. These products will help you achieve the best results while ensuring the safety of your car's paintwork.
Step 2: Preparation is Key
Before you begin the swirl mark removal process, it's essential to prepare your car. Start by thoroughly washing it using a high-quality car shampoo. This will remove any dirt or debris that could potentially scratch the paint surface. After washing, dry the car using a microfiber cloth or a soft, lint-free towel.
Step 3: Clay Bar Treatment
Once your car is dry, it's time to give it a clay bar treatment. The clay bar helps remove any embedded contaminants from the paint surface, allowing for a smoother and cleaner finish. Follow the instructions provided in the clay bar kit to ensure proper usage. Remember to lubricate the surface using a detailing spray to prevent any scratches.

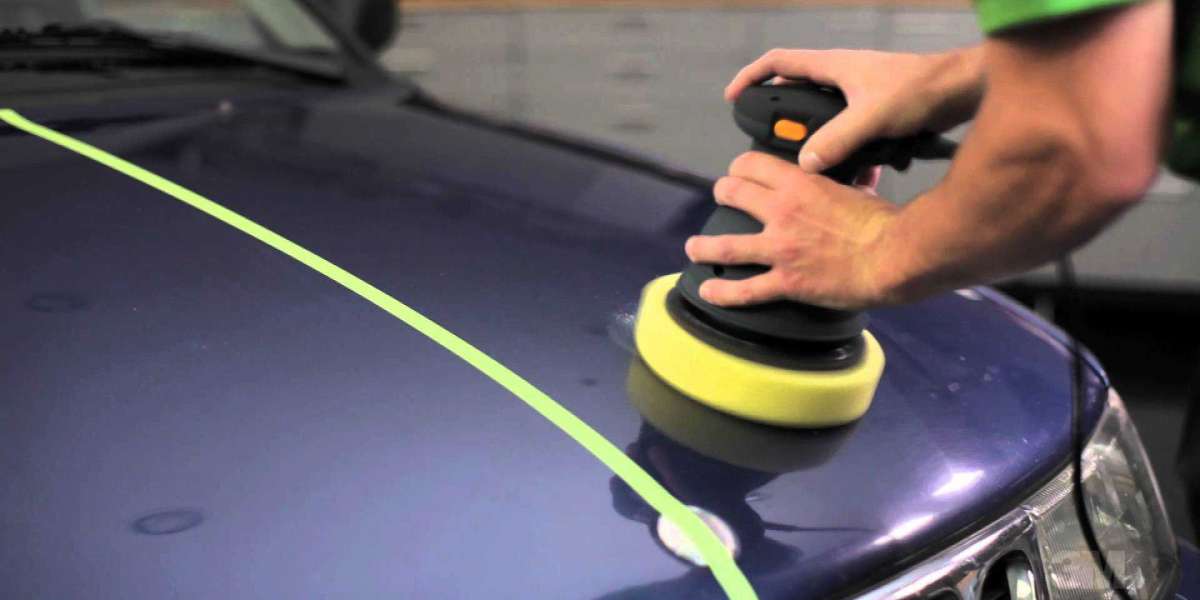
Step 4: Polishing the Swirl Marks Away
With your car properly prepped, it's time to tackle those swirl marks. Attach a polishing pad to the dual-action polisher and apply a small amount of polishing compound to the pad. Work in sections, applying gentle pressure and moving the polisher in overlapping motions. Continue this process until the swirl marks begin to disappear and the paintwork looks smooth and glossy.
Step 5: Protection and Maintenance
Now that your car is swirl mark-free, it's important to protect the paintwork and maintain its shine. Apply a layer of car wax to create a protective barrier against dirt, UV rays, and other environmental contaminants. Regularly washing your car using the correct techniques and products will help prolong the effects of your detailing efforts.
Conclusion
Removing swirl marks from your car doesn't have to be a daunting task. By following the steps outlined in this blog post, you can restore your car's shine and give it a flawless appearance. So, grab your car detailing supplies and get ready to transform your vehicle into a head-turner on the road. Remember, regular car maintenance and detailing can help preserve your car's value and keep it looking its best.
Remember, when it comes to car detailing Christchurch, a little time and effort can go a long way in making your car look its best. So, go ahead and give your car some TLC and say goodbye to those pesky swirl marks.